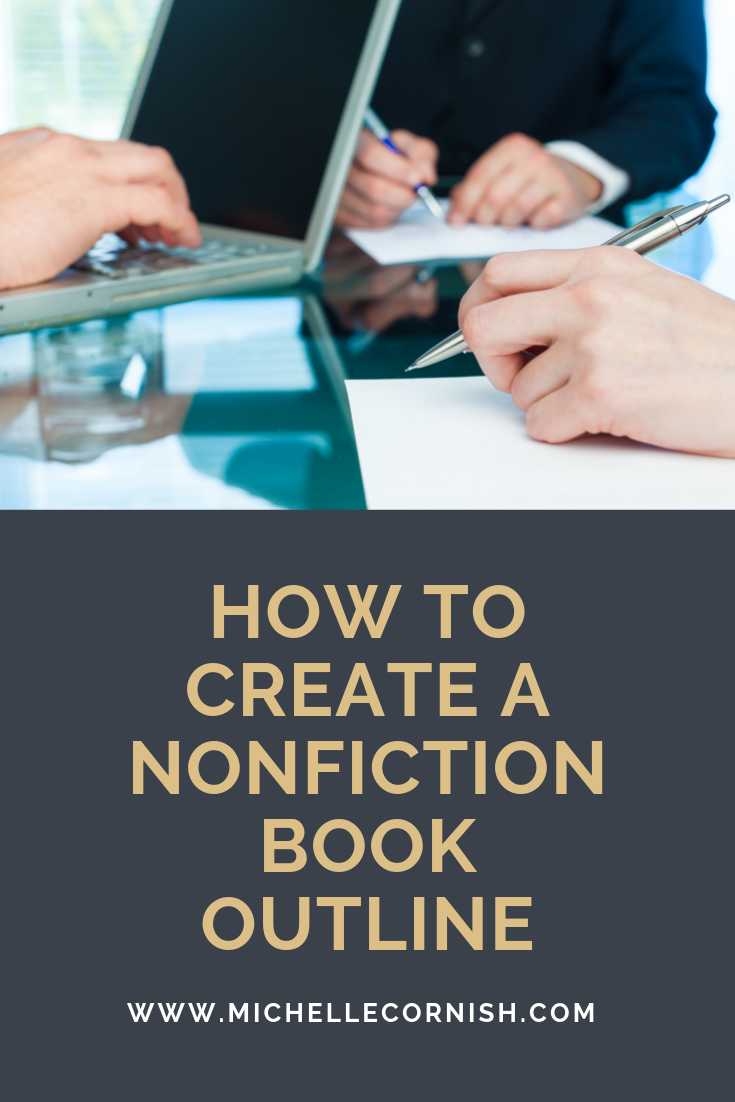

How to Create a Nonfiction Book Outline
/
This might sound a little crazy, but when I was in high school and university, I loved to make outlines. It was the stuff that came after the outline that I always had trouble with. But, because I had a detailed outline I could refer to, the writing was a lot easier than it would have been without an outline.
I've created countless outlines whether they were for essays, short answer questions, or a formal presentation. I’ve even created mini-outlines when I wrote exams to help me stay on topic.
I still enjoy creating outlines today and use them for many of my daily tasks. If it wasn't for a detailed outline, I wouldn't have been able to write my book Keep More Money in just two months. Let’s dig into why outlines are so great.
Why write an outline?
Determine your topic
Working through the process of creating an outline can help you get really clear on what your topic is. You may start mapping out your subject, but then decide part way through your outline that you’re not as excited about your topic as you thought you were, so you get a chance to change direction before you get too far into the writing process.
Get organized
Once you have a clear idea of what you want to write about, an outline can help you organize your material in a format that makes the biggest impact. Sometimes chronological order works well. This is how I ended up organizing Keep More Money - based the stages a business goes through over its life.
You may want to organize your book so your strongest argument is at the end (or the beginning). Working through the process of building an outline, helps you figure out the many different ways you can present your material and then choose the one that feels best to you.
Stay focused
Helping me stay focused is probably my favourite benefit of working with an outline. Writing a book is a big project, and you may find yourself running out of steam part way through. Jerry Jenkins calls this the “Marathon of the Middle,” and an outline will help you keep going. If you have a solid outline to refer to during the process, you just need to look at the next item on your outline and keep going.
I highly recommend creating an outline for your book overall, and then creating additional outlines for each chapter. It makes the writing process flow effortlessly!
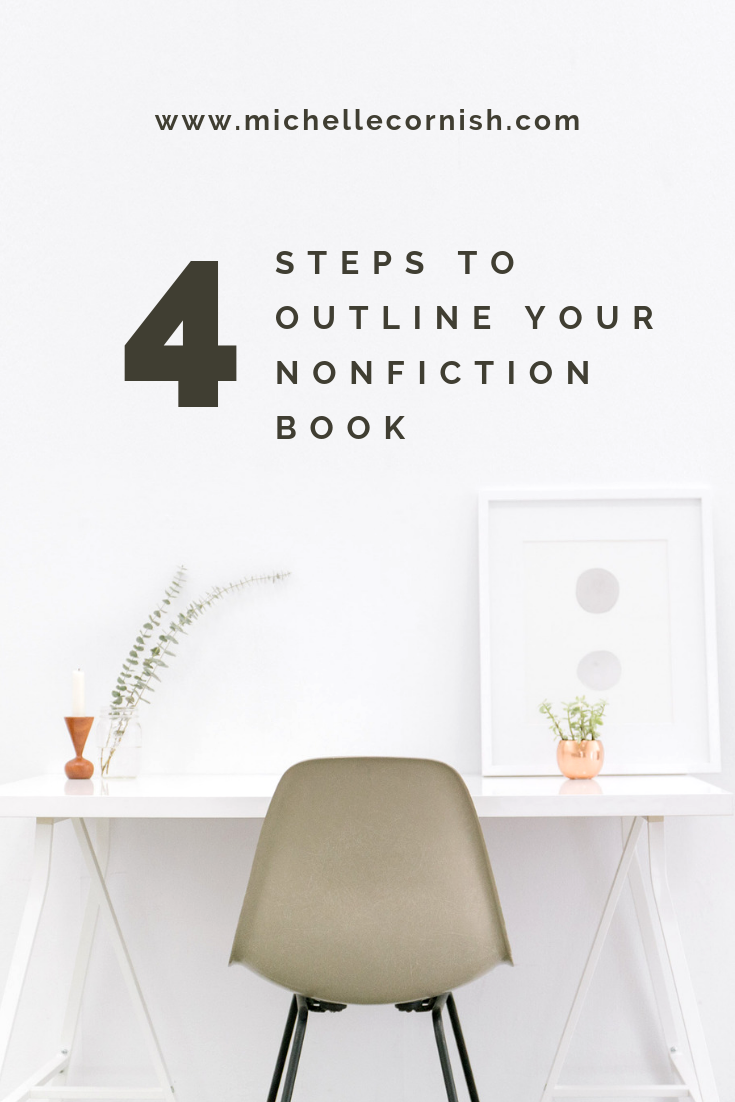
Steps to creating an outline
Now that you know the benefits of creating an outline, let’s talk about how you get started.
The basic outline structure I learned in high school for writing essays has served me well for many other things, including writing books and creating courses. That structure is:
Introductory paragraph to introduce the main topic.
Paragraph one = Point one
Paragraph two = Point two
Paragraph three = Point three
Concluding paragraph that briefly summarizes what was covered in the paragraphs discussing points one through three (or more if your topic has more than three main points).
The introductory paragraph should include your main point (called a thesis statement) while paragraphs one through three serve to reinforce your main point.
You’ve probably heard the advice, “Tell them what you are going to tell them, tell them, then tell them what you told them.” This is the same idea.
Of course, a book is much longer than an essay. So, here are some steps you can use to map out the structure of your nonfiction book.
1. Brain dump
When you do a brain dump, you write down all your ideas without filtering yourself. Anything that pops into your head, write it down. I like to use the largest piece of paper I can get my hands on for this step. Newsprint flip chart paper works great and doesn’t cost a lot.
2. Organize into related topics
Now that you have all your ideas down on paper, it’s time to start organizing them. You can do this by creating a list of related ideas with headings and subheadings or you can create a mind map from your existing brain dump.
After you’ve organized your thoughts, it’s the perfect time to take a break before moving on to the next step. You’ll see why in a minute.
3. Eliminate unrelated ideas
Hopefully you have taken a break from your outline and can look at it with fresh eyes in order to eliminate any unrelated topic ideas or things that just don’t seem to fit with the overall theme you see shaping up. Cross off those items and put them in a notebook to use for another project.
4. Decide how you want to order your topics for maximum effect
Now that you have all the main ideas for your outline, it’s time to decide how you want to organize your thoughts. This step may take some experimenting until you have the order that you like the best. You may want to think about how many chapters you want your book to have overall and organize your thoughts based on that.
Try writing your ideas down on sticky notes or recipe cards so you can easily move them around and try out different organizational strategies. Take a photo of each structure with your smartphone so you don’t waste time organizing your notes into structures you’ve already tried.
I find creating outlines really fun, but not everyone is a planner like me. If you find it frustrating, let me know what you’re struggling with in the comments section below.